You can specify a future time of day to the nearest half-hour by selecting the time drop-down list and choosing the desired time, based on the 24-hour clock.
Alternatively, you can enter the time to the nearest minute using this syntax:
hour:minute
Hours and minutes must each be entered as two digits with leading zeroes for single-digits, using the 24-hour clock. For example, you would enter 4:17 AM as:
04:17
Repeats - specifies whether the task is to be performed once or is to recur at periodic intervals as follows:
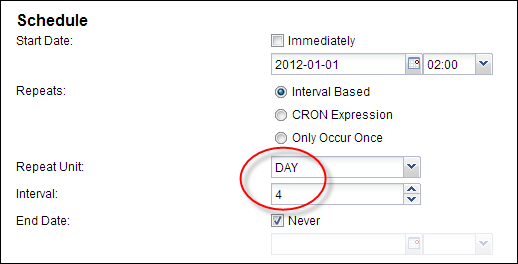
Selecting Interval Based allows you to set a repeat interval and count.
Selecting Only Occur Once causes the task to be performed once only.
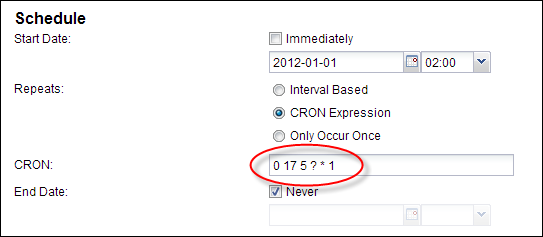
Selecting CRON Expression allows you to use a Unix-style cron expression to specify the recurrence period of the task.
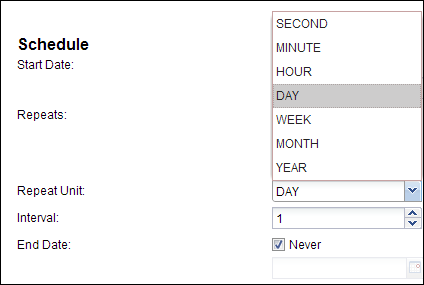
Repeat Unit - specifies the desired repeat interval ranging from seconds to years. (Available only if you select Interval Based above.)
Interval - specifies the frequency of the recurrence. (Available only if you select Interval Based above.) For example, a Repeat Unit of Day and Interval of 4 means every four days.
CRON - specifies the recurrence period of the task, using a Unix-style cron expression.1Further information about cron expressions can be found at:http://en.wikipedia.org/wiki/CRON_expression.
Ends Date - the date and time at which the task is to end. A recurring task is performed at its recurrence frequency until this time is reached, at which point, the task ceases to be performed and is removed from the Schedules table. Checking the Never box causes a recurring task to be repeated indefinitely. Unchecking the box allows a future end date and time to be specified.
End dates and times are specified as described in Adding a Scheduled Task.
Finally, click OK to add the newly defined task to the Schedules table.
Example
The following example shows a recurring task entry in the table:

In this example, the task recurs every four days starting on 12-Oct-2013 at 8pm and ending on 19-Oct-2013 at 10am.
You can suspend scheduled tasks either from the time they are created or by modifying an existing task. Both use the same dialog user-interface, the Enabled checkbox in the dialog. Alternatively, you can do this quickly for tasks directly from the initial table view by selecting the tasks you want to enable or disable (suspend) and clicking either the Enable or Disable button.